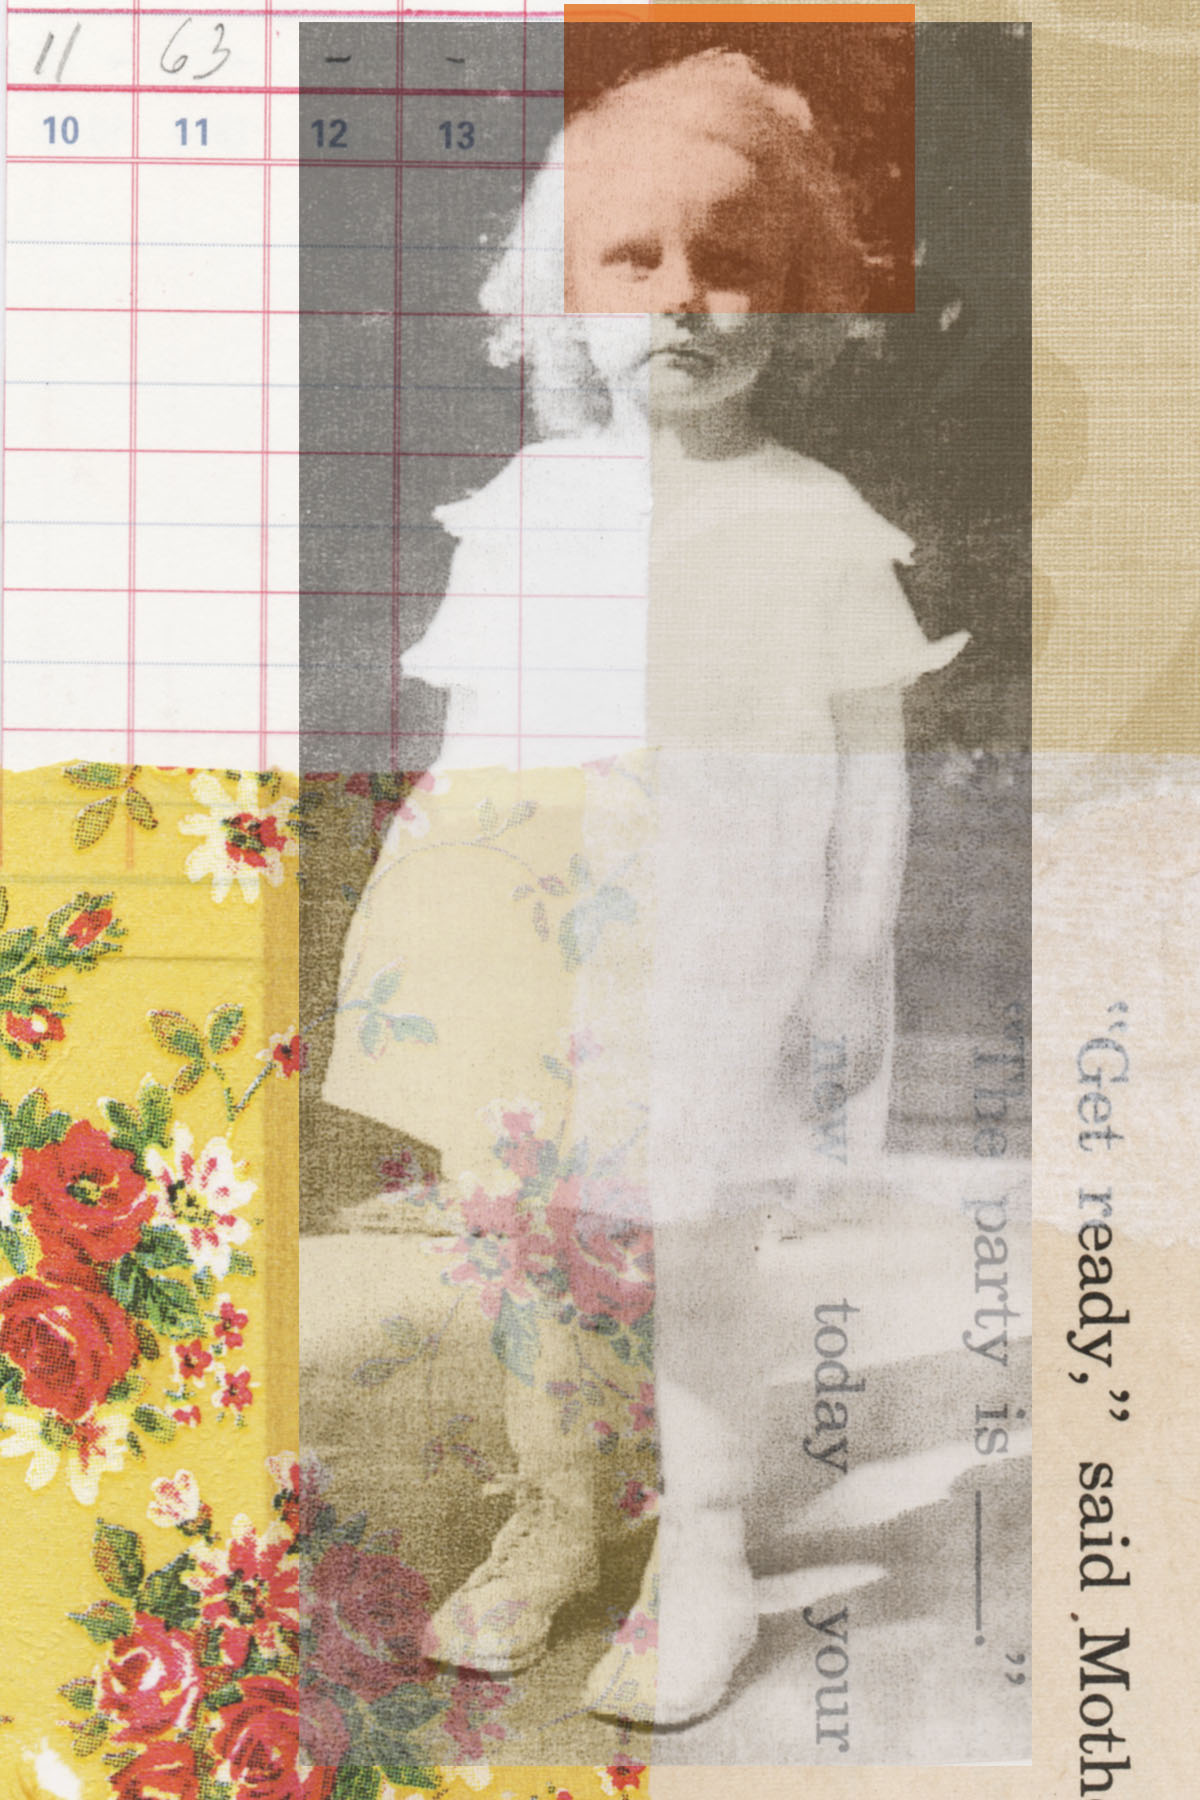
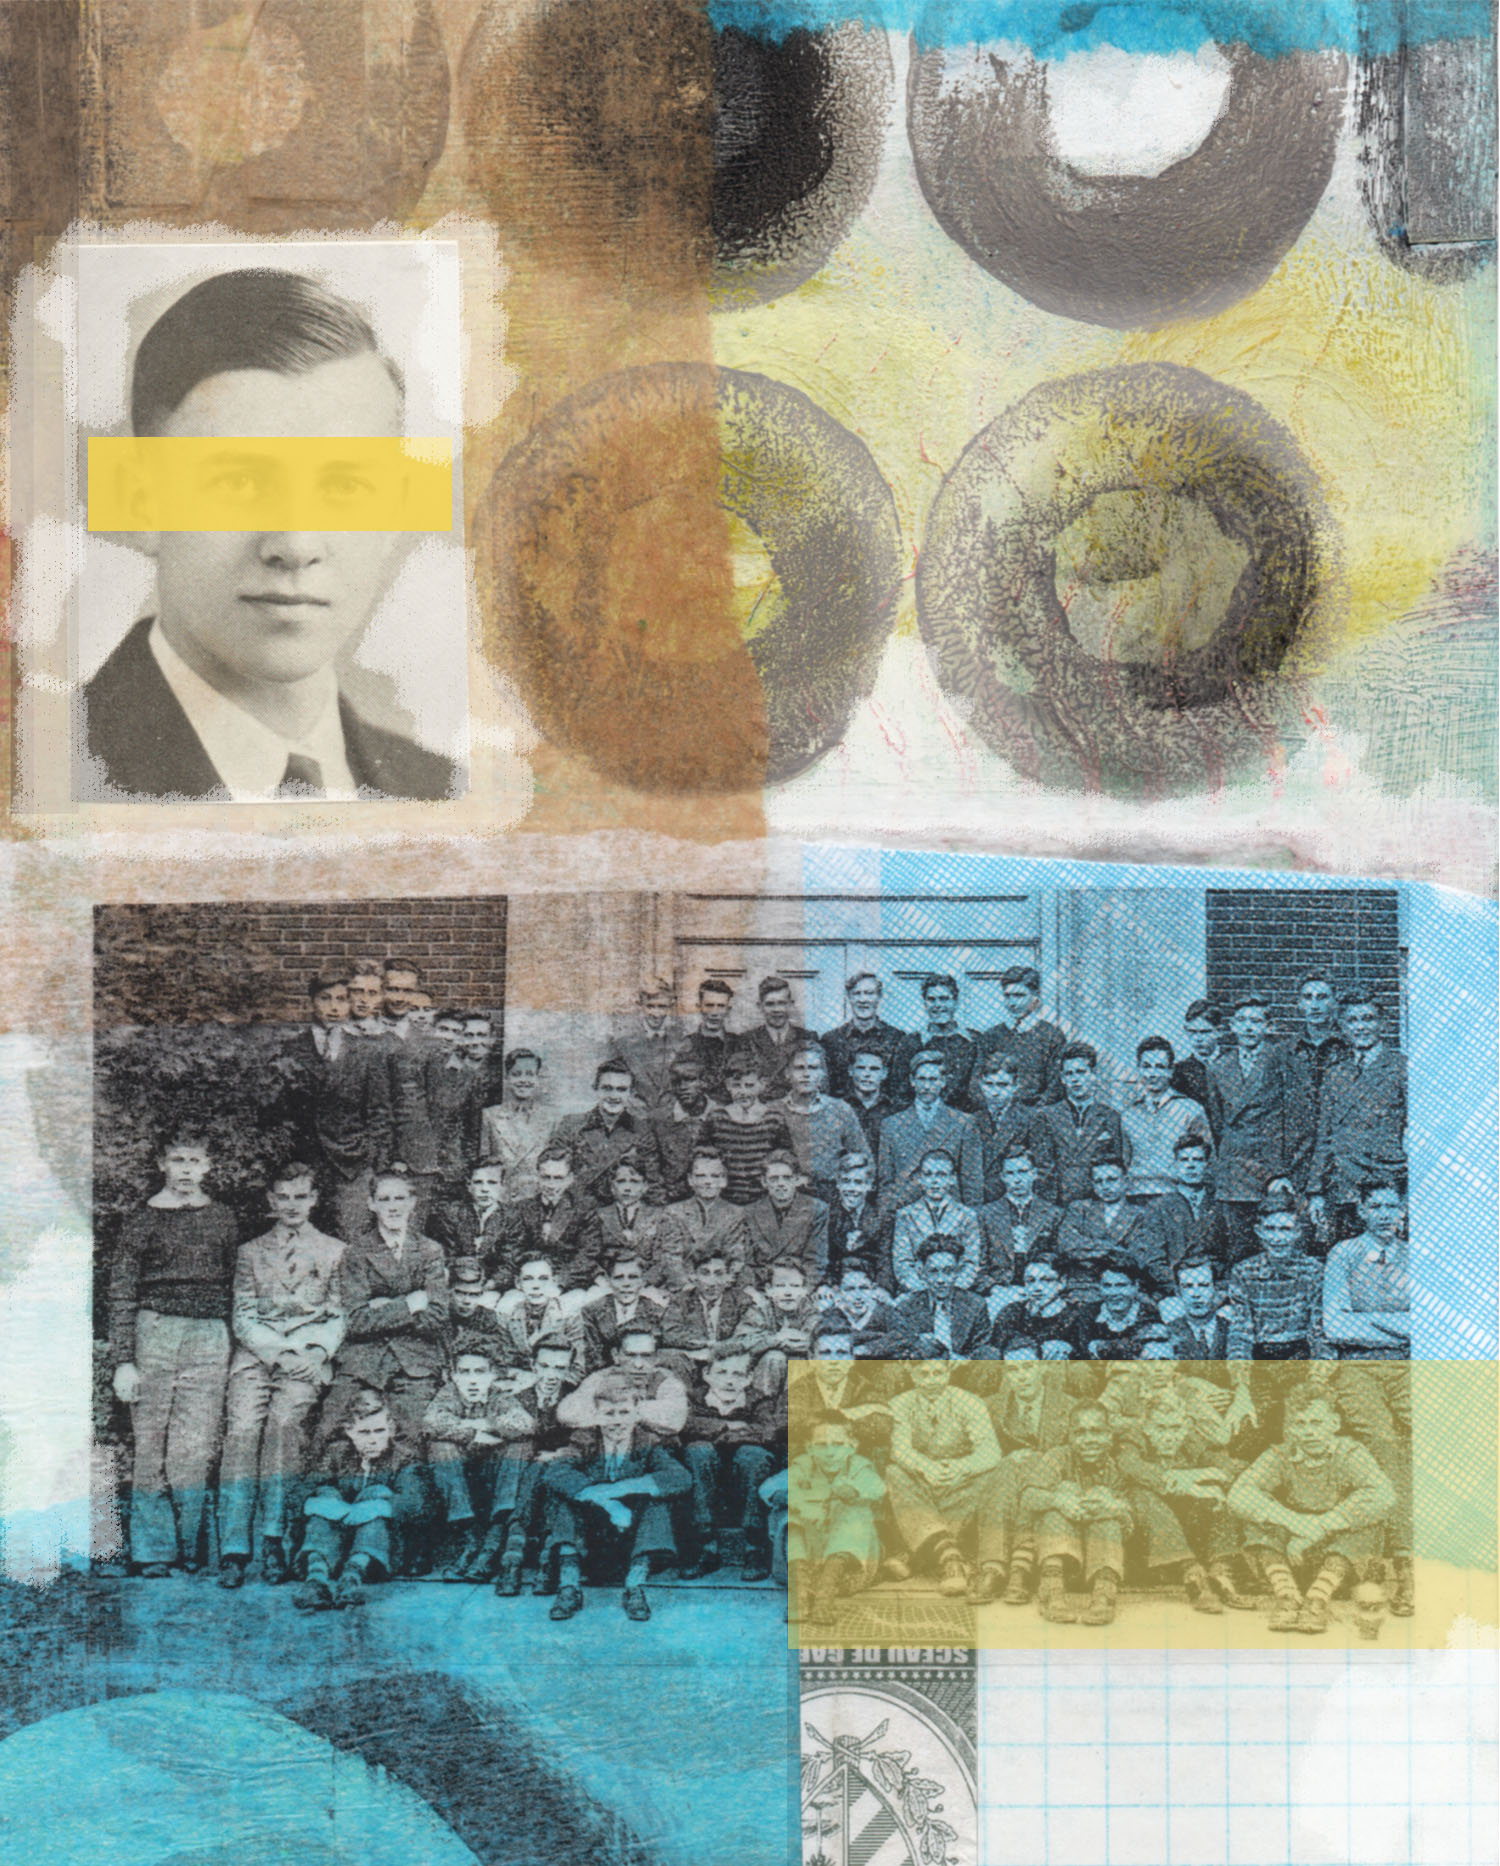
ALTERNATE VERSIONS of A PIECE
VERSION 1 : A painting with collage elements added – photographs, tissue paper, different bits of paper

VERSION 2 : After scanning it into the computer, I digitally added some white brush strokes and a small yellow rectangle on the lower right corner

VERSION 3 : Another idea was to put a yellow strip over the eyes and move the yellow rectangle up under the transparency of the group of boys.
I could probably play with this all day long! Anyone have a preference?
STILL LEARNING
These last two weeks have been spent trying to update my Photoshop skills (though it’s questionable if I can really call what I have “skills”). I’ve used Ps Elements for quite awhile and have always just done the basics that my daughter was patient enough to teach me years ago. Basically, after I do an art piece I’ll use the computer to scan it, crop, maybe alter it digitally, things like that. Or make cards and send them off to be printed online. And I have lots of photographs in files that I will print or use in collage work.
It seems, though, that my Ps Elements was kind of dated and Ps Creative Cloud is the new way to go. I read a bit about it, heard about Adobe Bridge, read about camera raw, smart objects…sort of understood it all, so decided to take a trial spin. I thought if I applied myself I could learn some of the essentials, and it shouldn’t be that different from what I have with Elements. I just had to remember to be patient. I’m a visual learner; I never read the manuals, I need to be shown how things operate. I had to update to OS X Yosemite for the Mac in order to download the new version of Ps. I had been trying to avoid that after reading some negative comments, but I did it anyway. I’ve noticed a few differences, but it shouldn’t take long to get used to them. So, after downloading the Creative Cloud version of Ps and Adobe Bridge, I took a look. A lot of new things there, but okay. I decided to follow some step-by-step tutorials on www.puglypixel.com which are very good. I was encouraged, things didn’t seem so bad. My one concern was trying to remember everything, so I started taking notes. Well, as I look at my pages two weeks later, I’m hard-pressed to understand a lot of what I wrote down.
Another good website for help with Photoshop CC is www.lynda.com. You have to subscribe and right now I’m doing the trial, but it looks very worthwhile to get a subscription to unlimited tutorials. They cover more topics than Photoshop, too. And, of course, the Adobe Help Page had lots of pointers and good info.
I do cheat once in awhile and go back to Ps Elements to get some things done for the sake of speed. When I try to do something on my own without following a tutorial it can get frustrating, but I am learning. (If things get too maddening, I’ll just take a walk around the block to get away from it for awhile). I have to remember it’s a learning experience.
Here are two examples of what I’ve been playing around with.
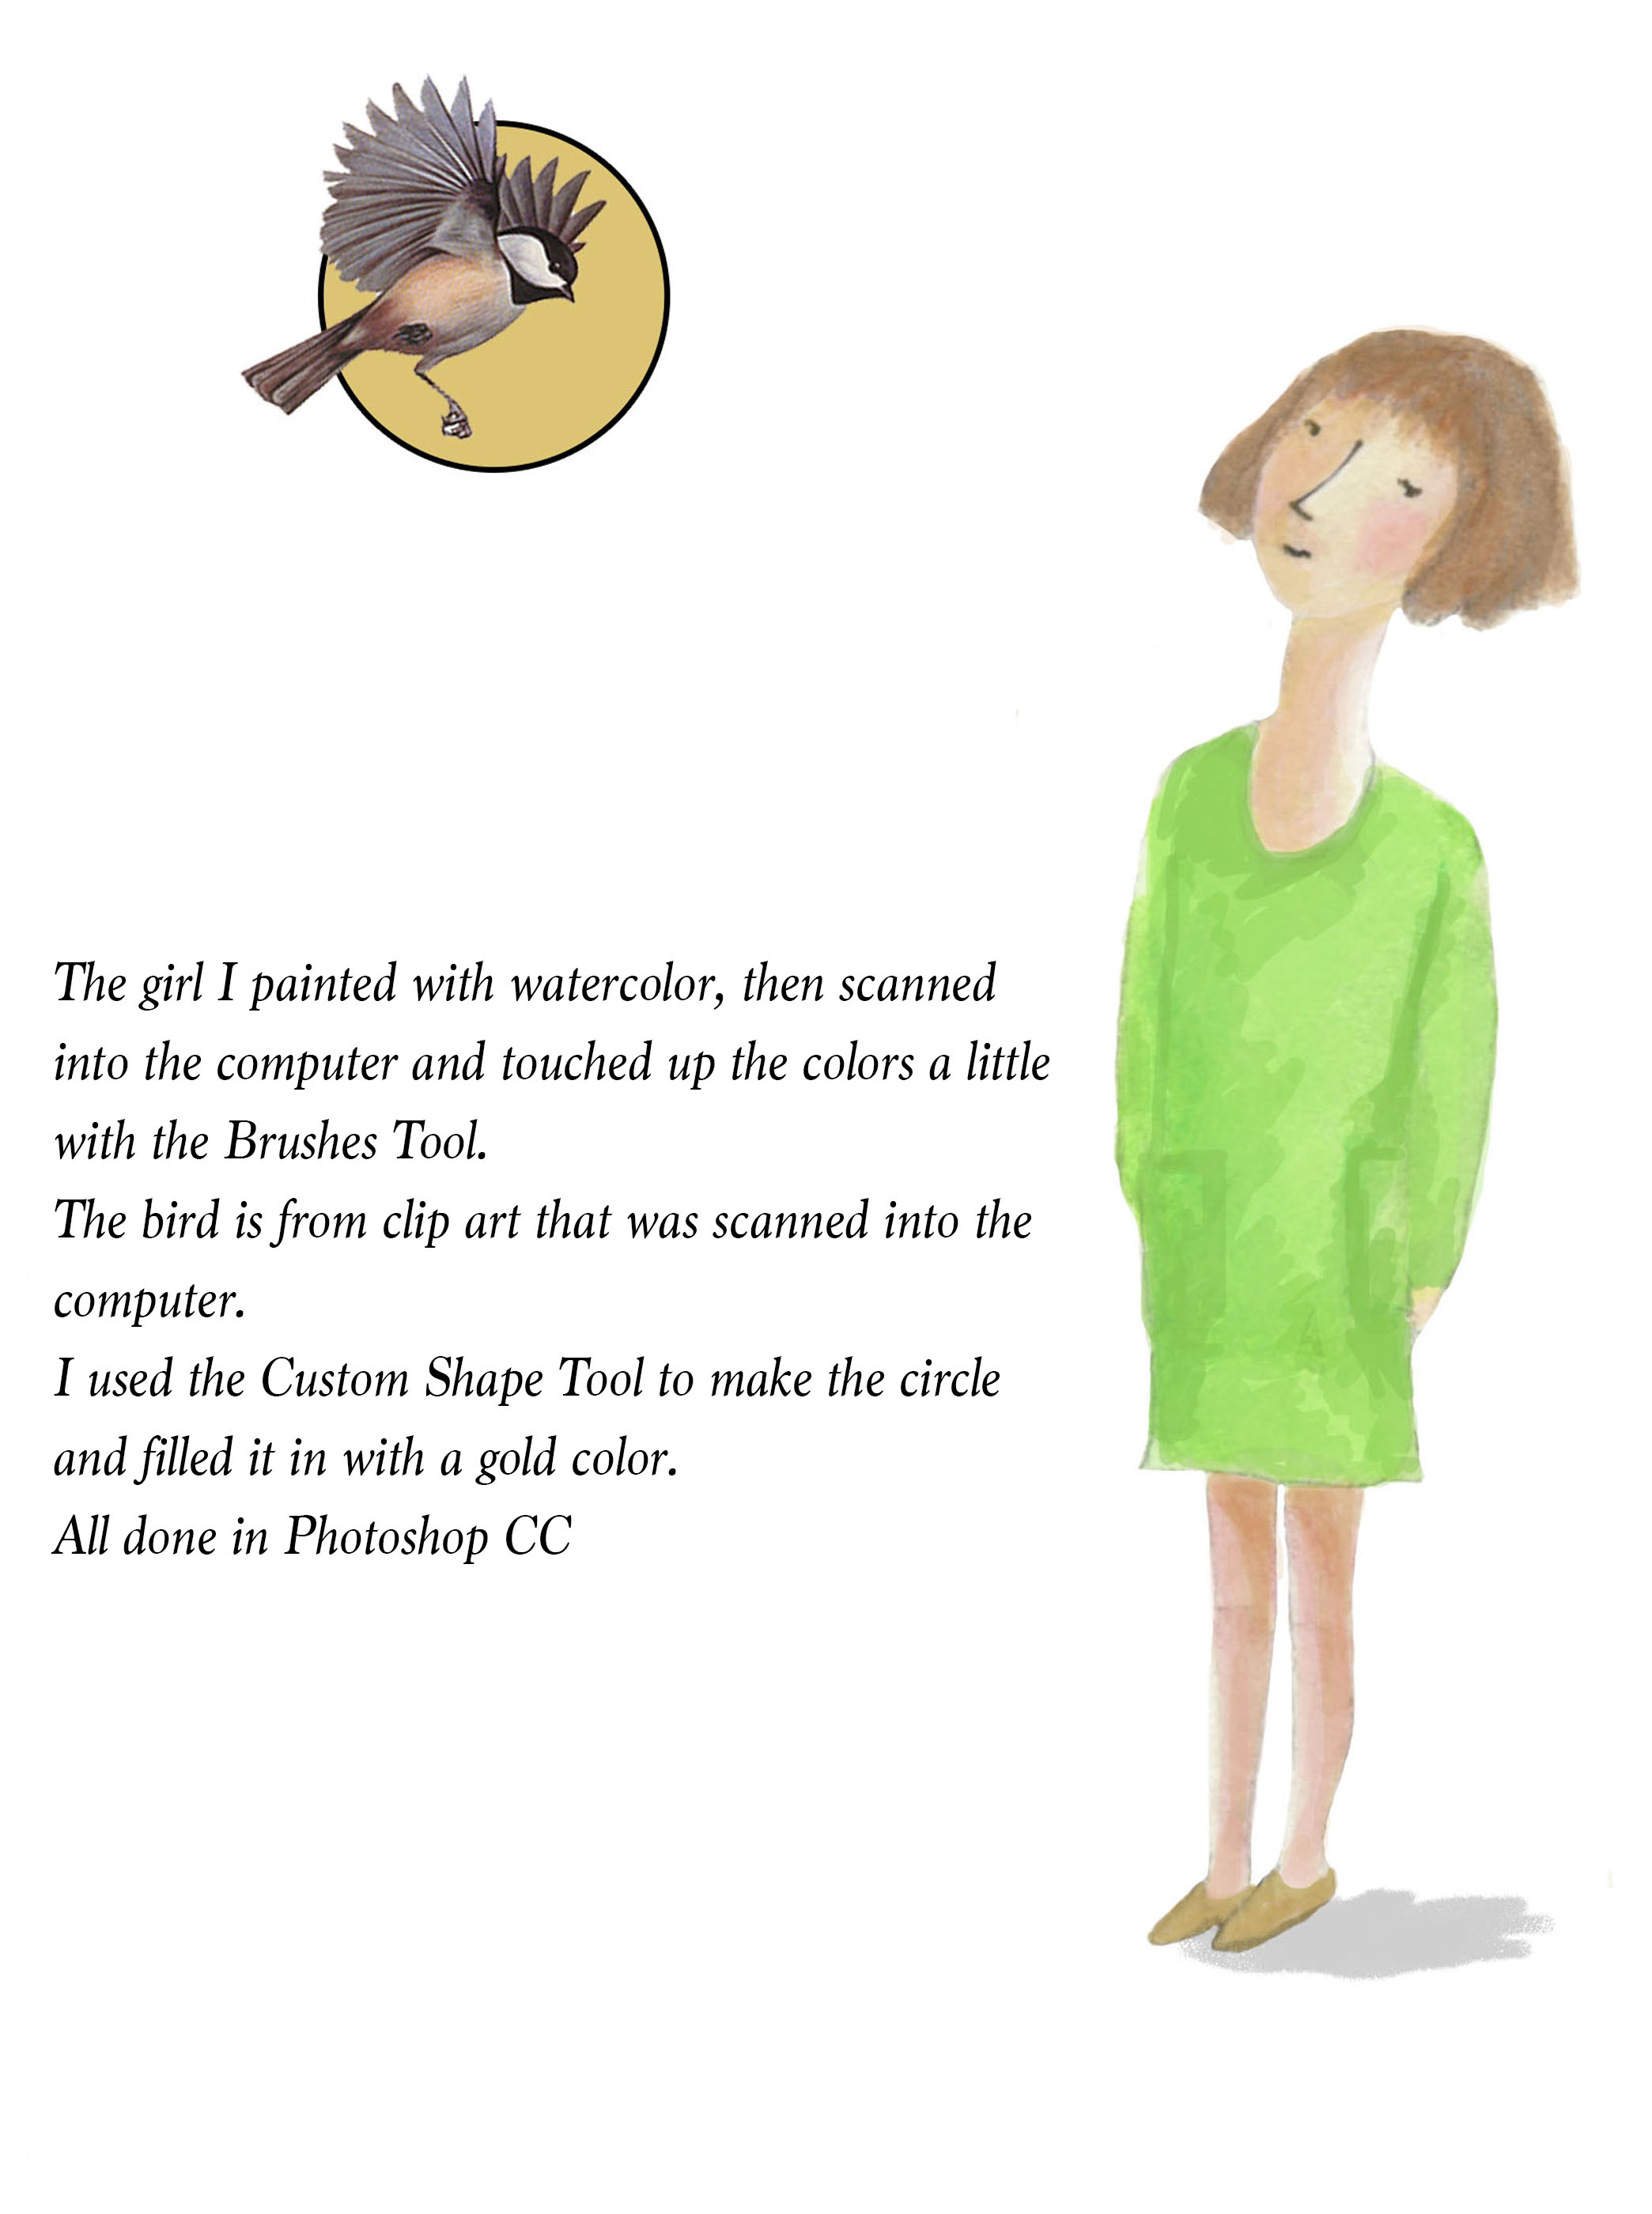
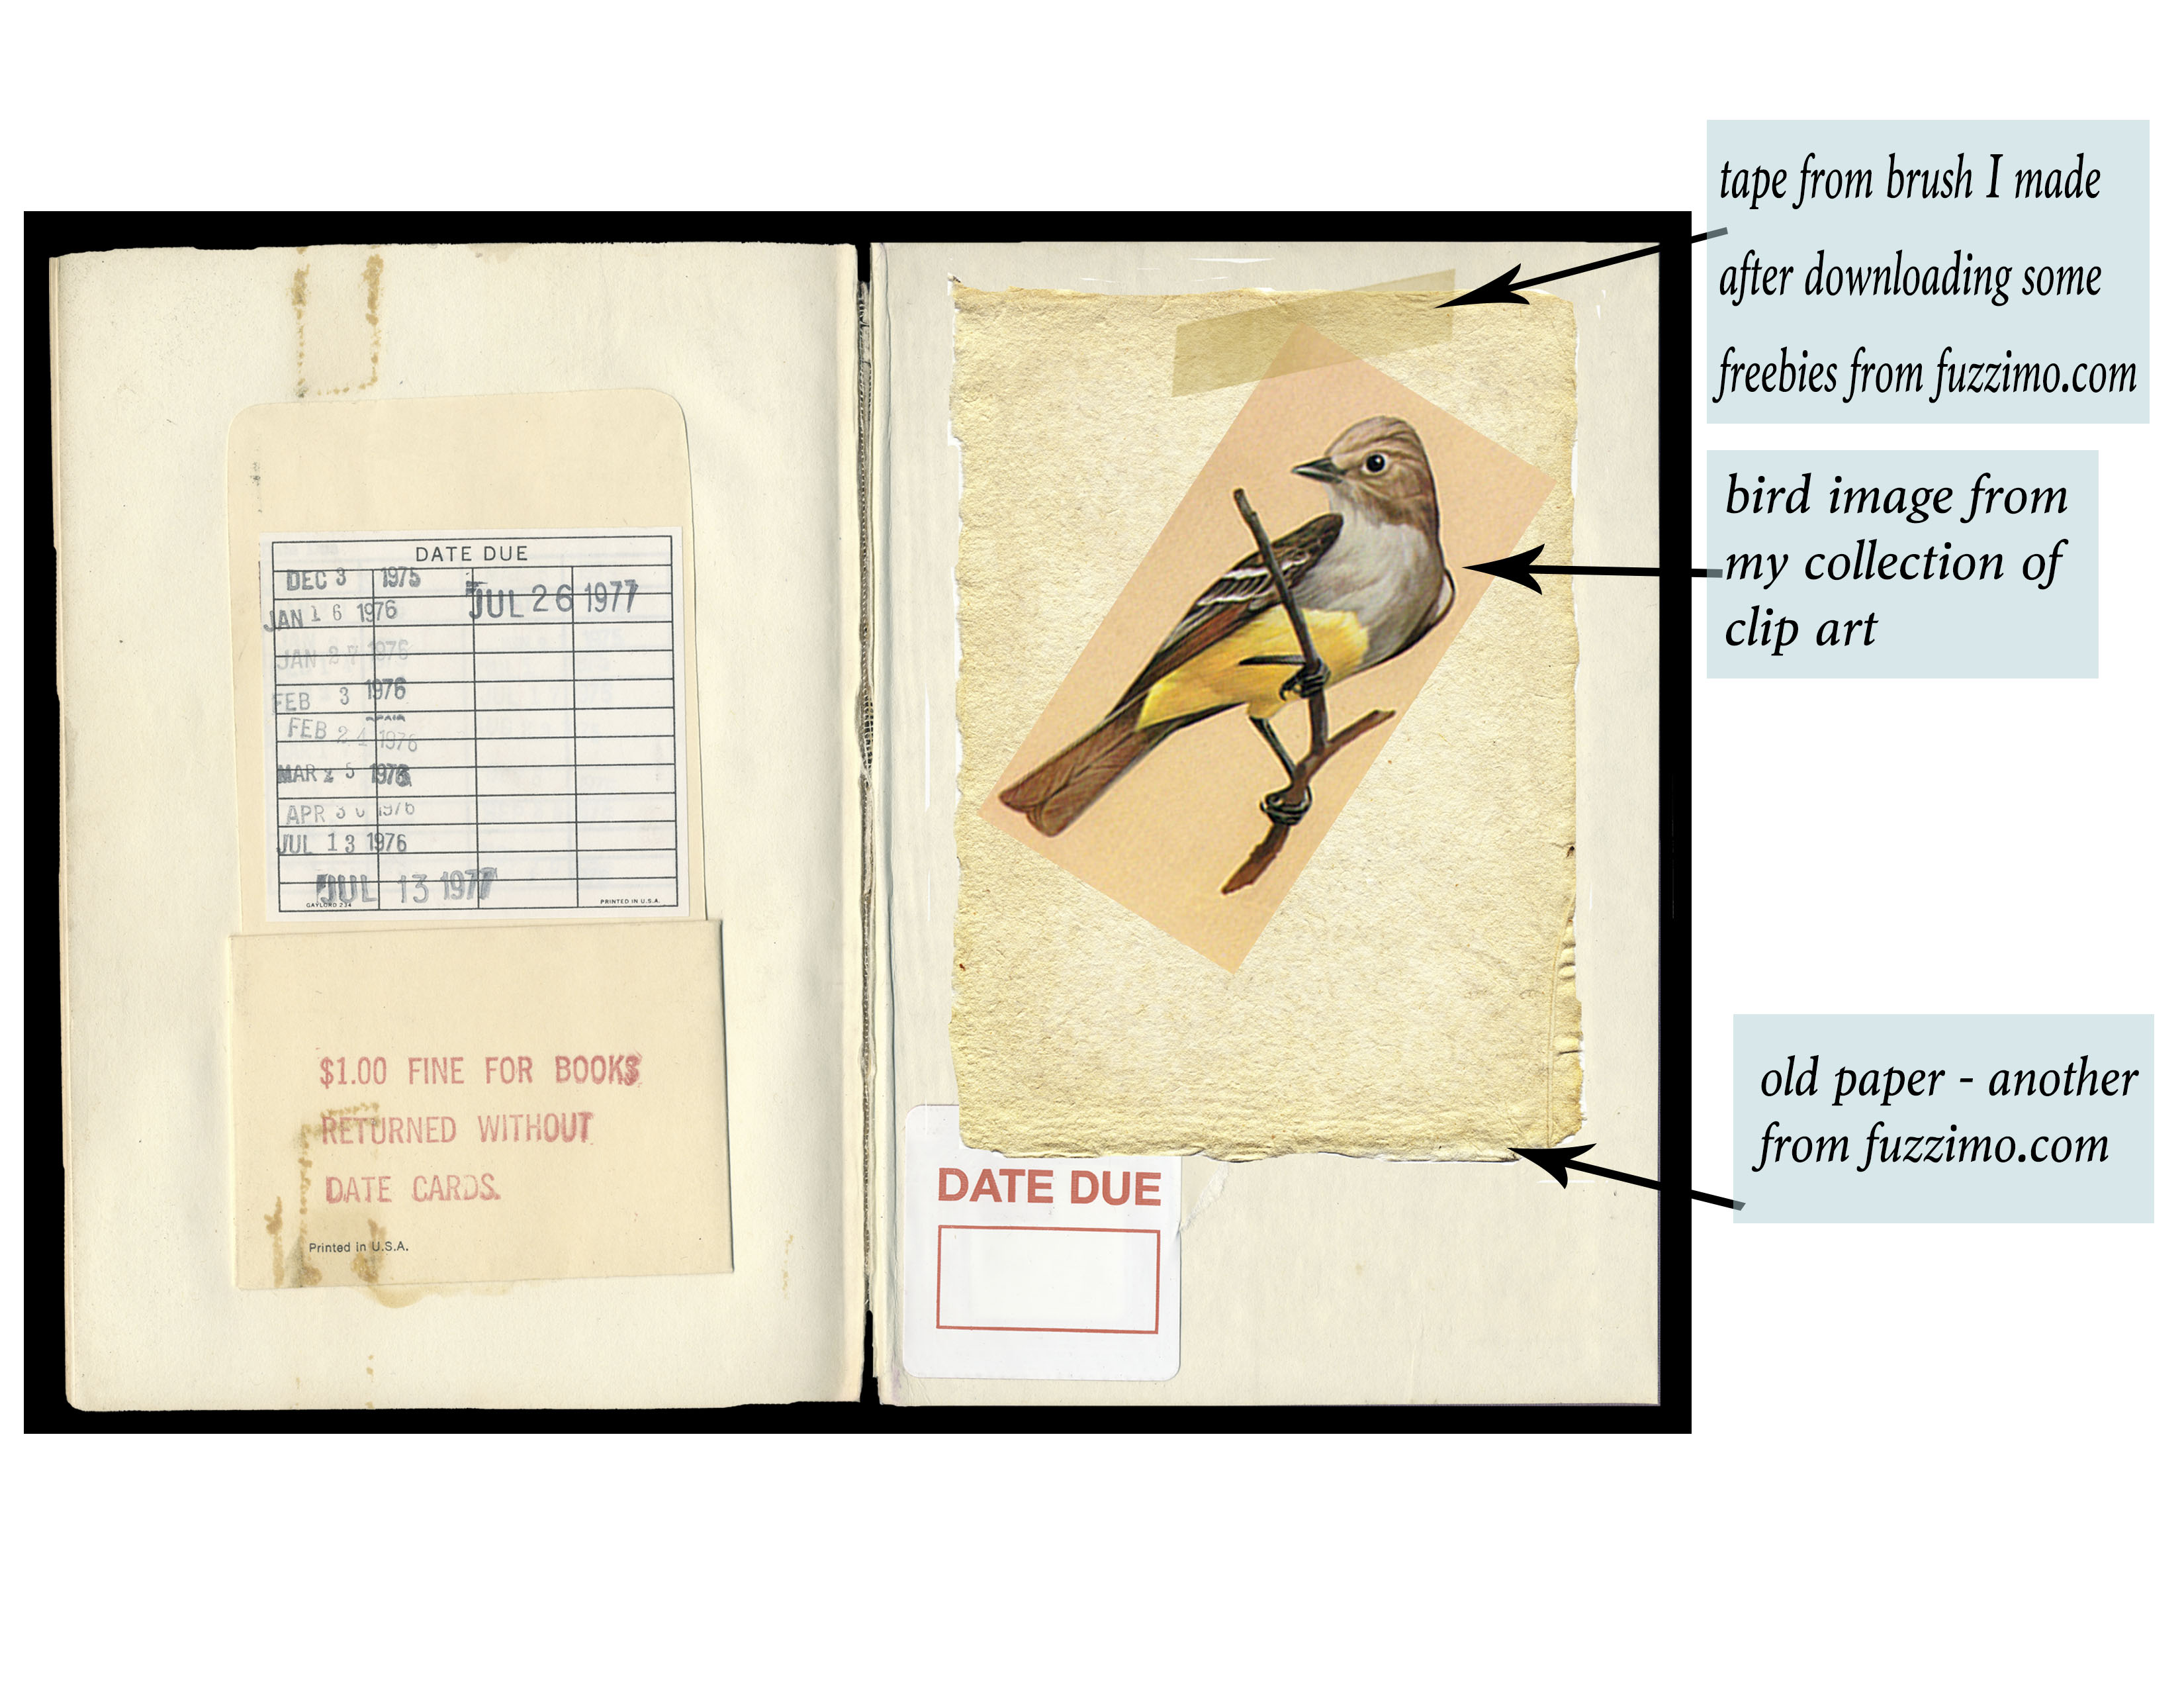
DIGITAL COLLAGES


LETTERING
I just finished some lettering work for a friend whose daughter is getting married soon, first addressing the wedding invitation envelopes, then hand-lettering the place cards for the reception. These are some of the samples I showed the bride-to-be for the envelopes. She liked a more traditional style and chose the first example below.
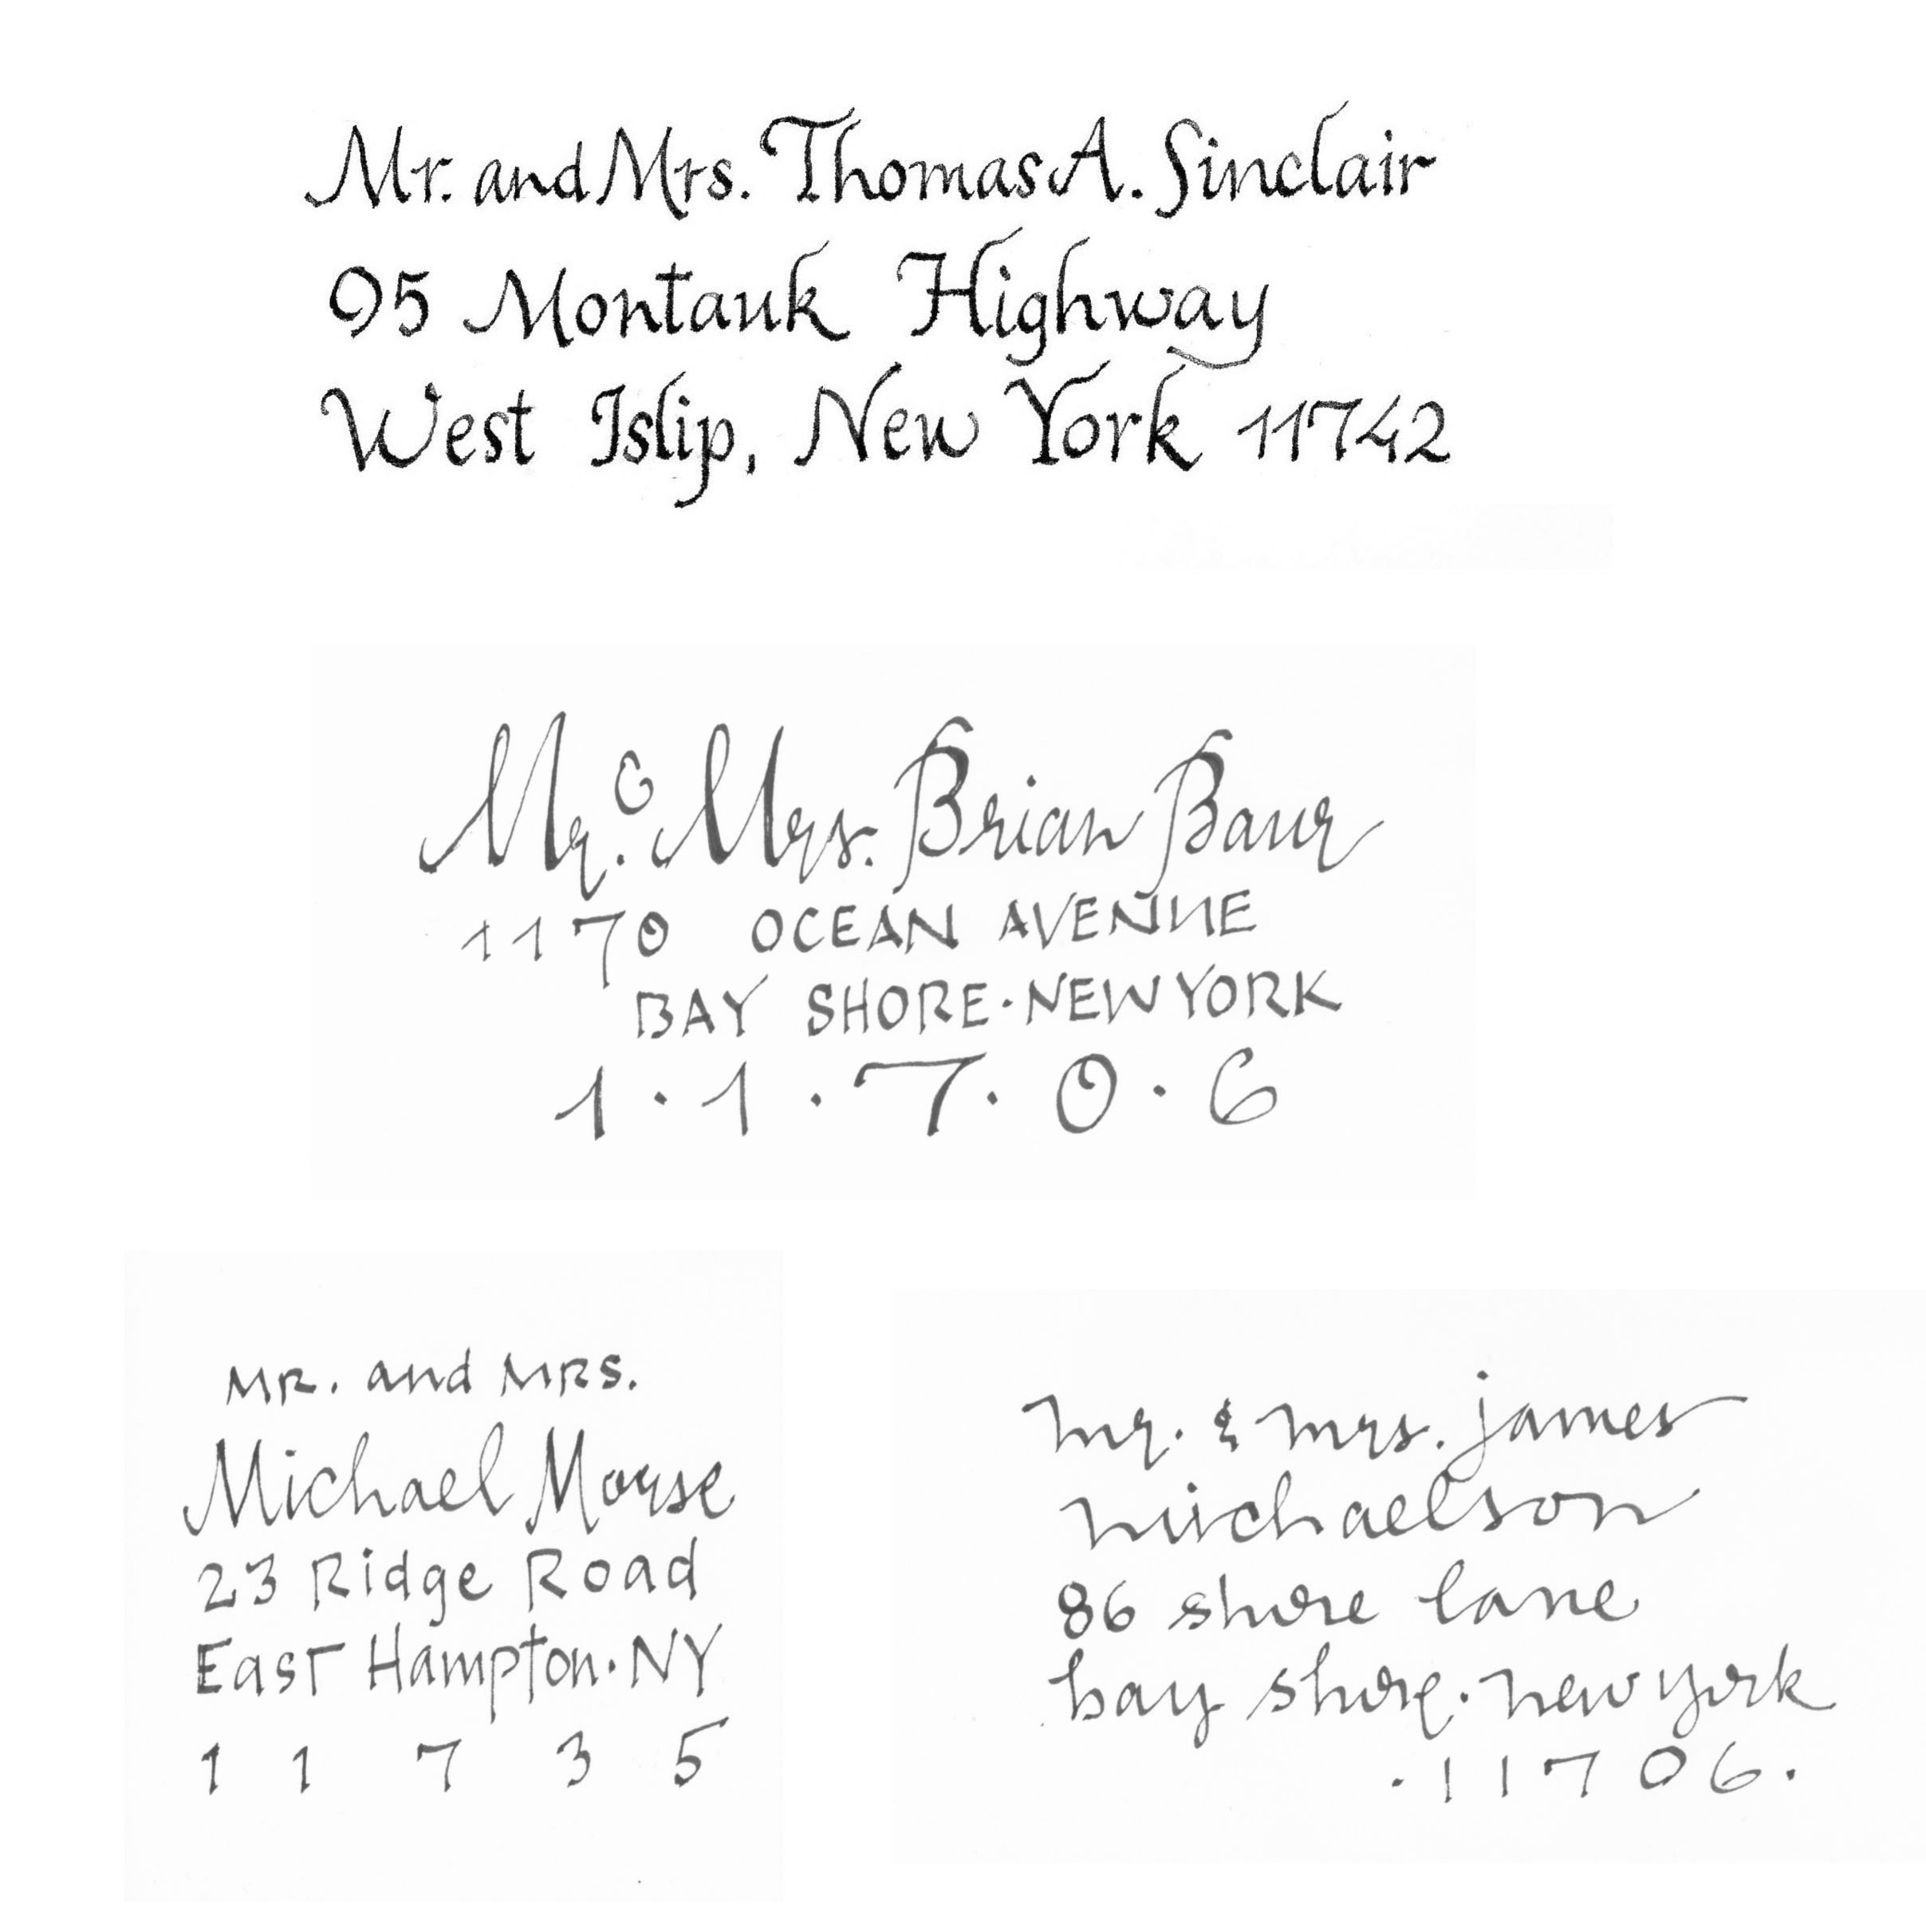

The table seating cards for the reception were done in a freer, lighter style. I felt the line of a fountain pen was too heavy for the 3.75″ by 1.5″ cards, so used a dip pen and black ink for a thinner, more delicate line.

The ruler and pencil were out because I sometimes make a faint pencil line as a guide to keep things straight, but didn’t really need to do that this time because of the flowing style of the lettering. Over one hundred twenty cards were done. Not all at once, mind you – I had my back and cramping hand to think of!

