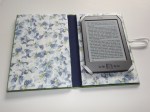
I’ve been working on making some small books this past week and thought I’d show how I made one from an ice cream box. The orange book will be a sketchbook for me and I gave the turquoise one to my daughter for a travel journal. I want to give credit to Sea Lemon who has some great DIY tutorials on You Tube. Check her out!
 So here’s what you’ll need:
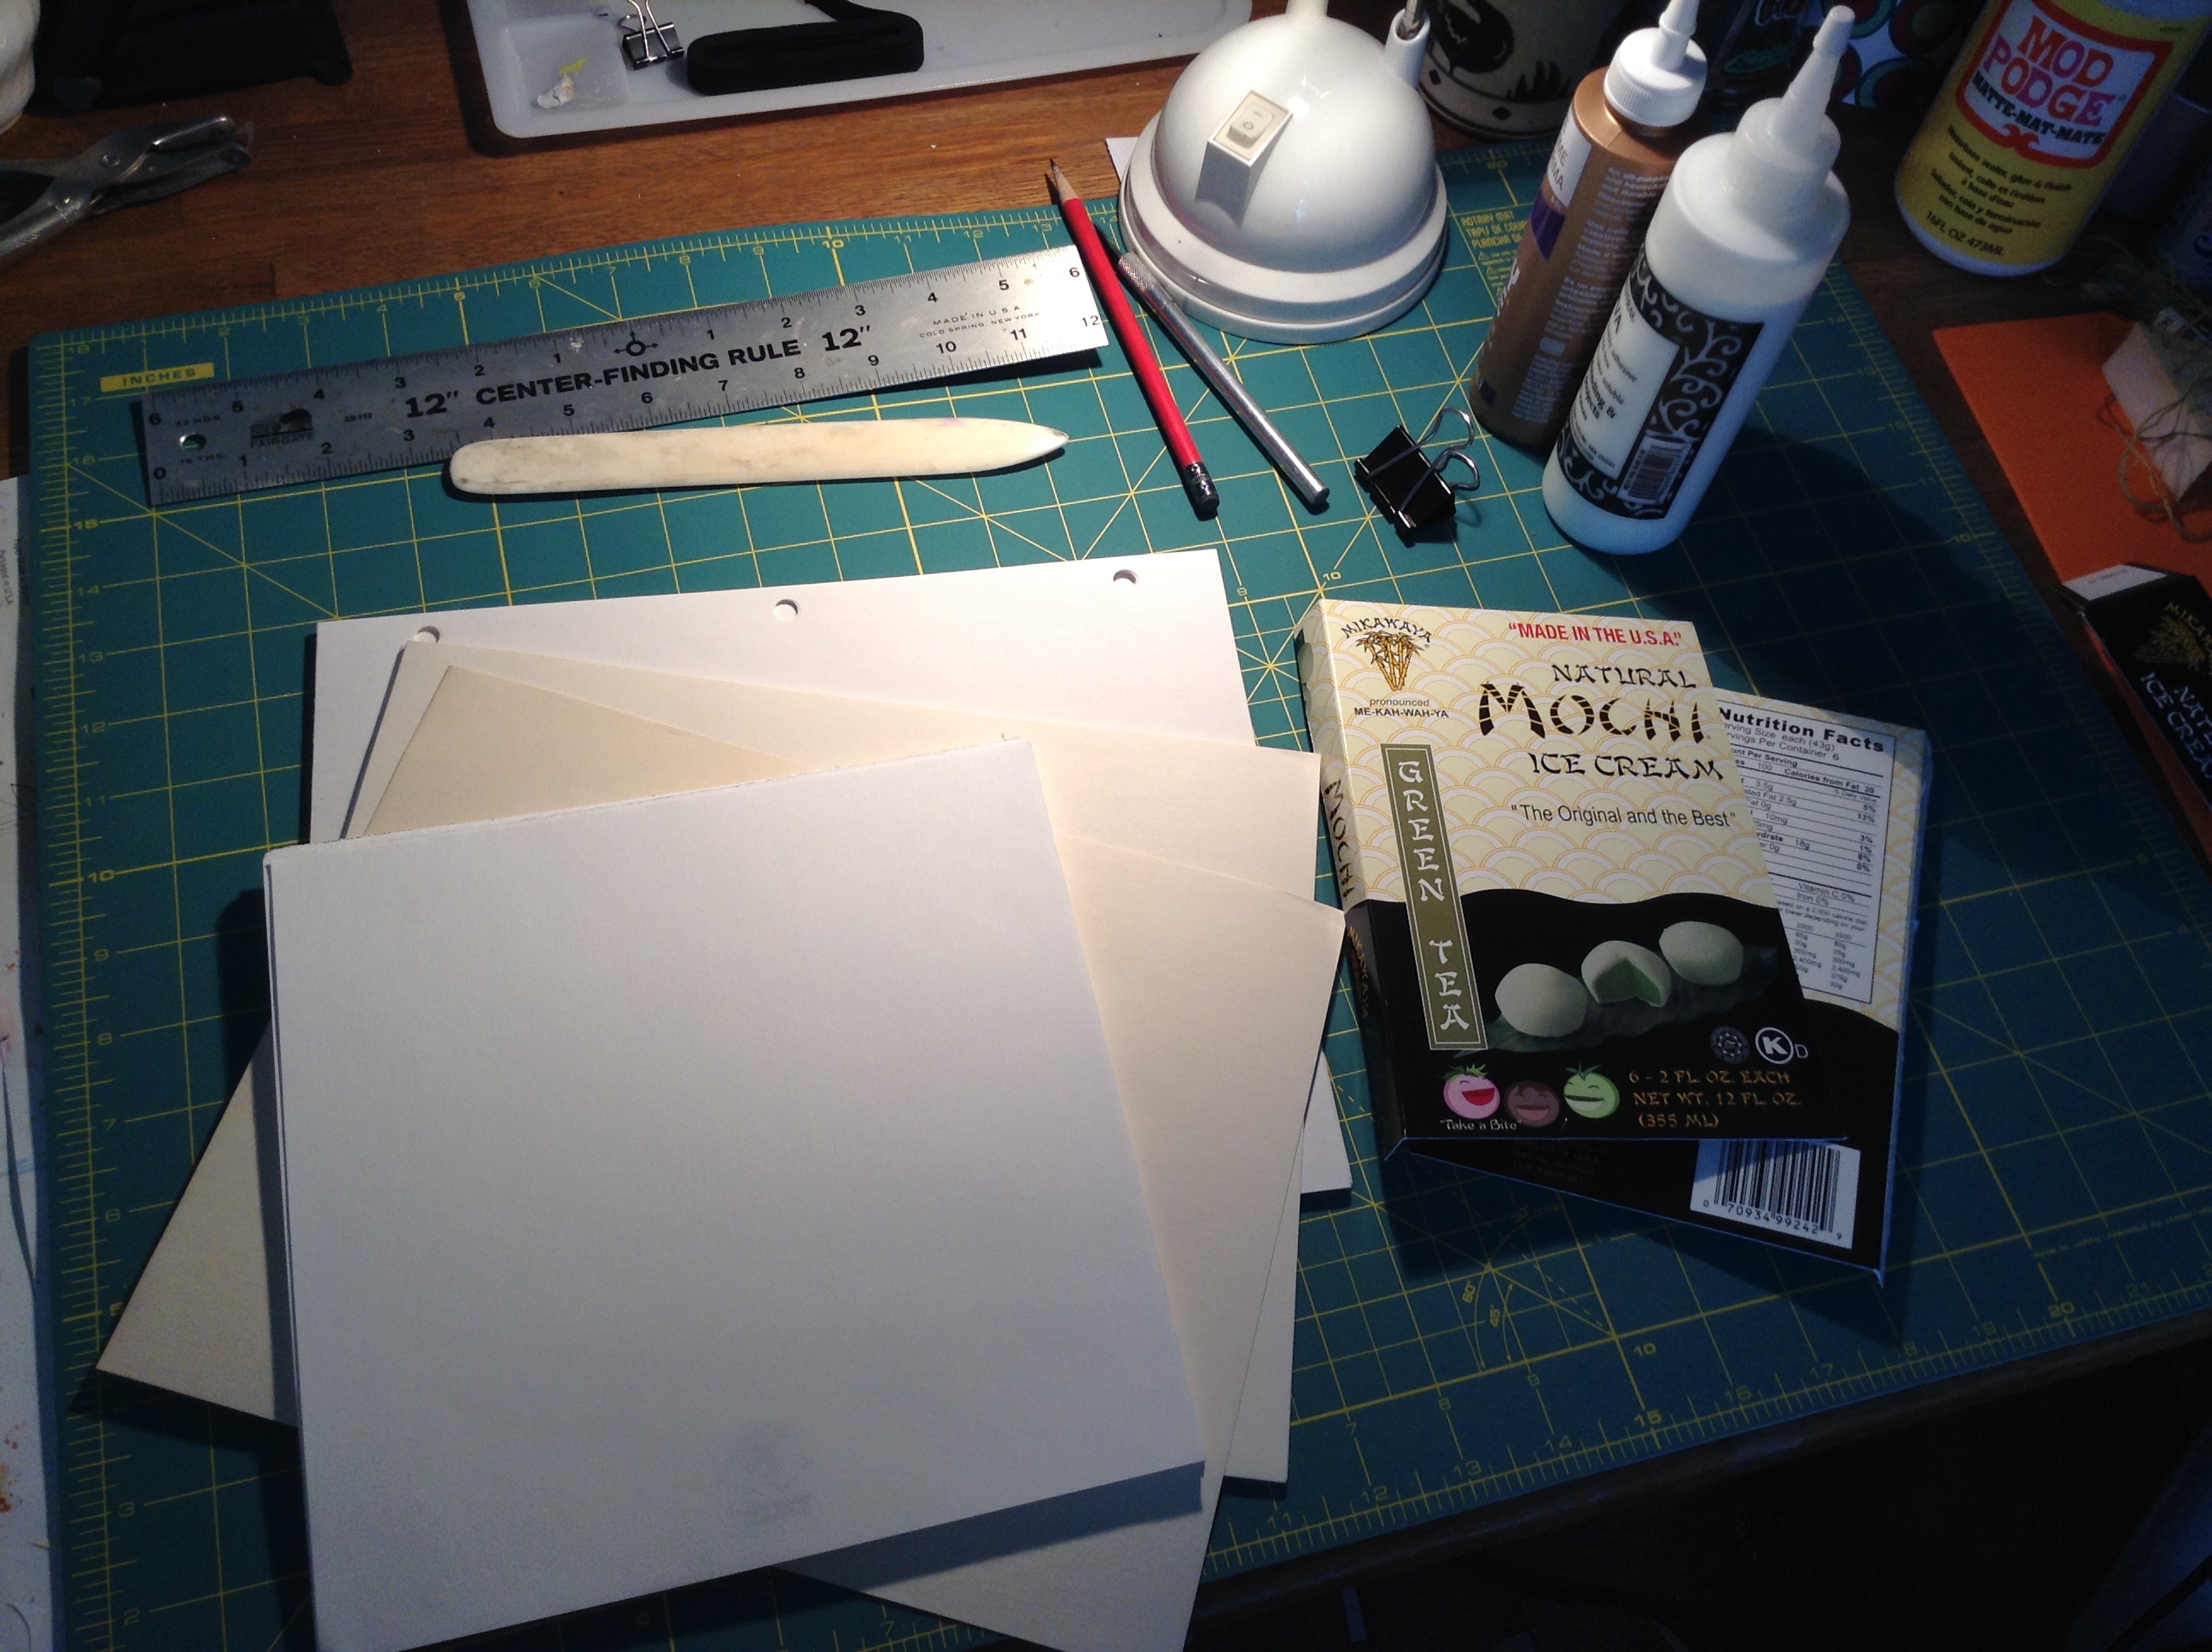
sheets of paper ice cream box ruler pencil bone folder clamps Exacto knife PVA glue (or Elmers) hot glue gun

Carefully take the box apart at the seam. In my case, the seam was on the left, so I opened it, trimmed it down a bit, then re-glued it. Trim off the flaps on the box so you’re left with something that looks like the cover of a book.
 Notice the width of the book spine. That will determine the number of sheets of paper needed to fill the book. Measure and cut your paper to the same height and width of the closed ice cream box/book. When all pages are cut to size, tamp them down along a long side to even the sheets, then clamp them together on the short sides. These pages make up the text block, ready to be glued.
 Brush a coat of glue along the long edge of the text block. Keep the clamps on and let the glue dry. Repeat the application of glue 2-3 more times, letting each coat dry before adding the next. If you have a book press, insert the text block and let glue dry. I don’t have a press, so I put the pages under some heavy books to weight it. Be sure the glue has dried, leaving it overnight, if possible.
  Plug in the glue gun and while it’s warming up, get a ruler, the bone folder and the book cover. Measure 1/4″ to the left of the cover’s spine and score from top to bottom with the bone folder. Do the same to the right of the spine. Fold a crease along the score marks. This will enable the cover to open easily once the pages are in the book.
 Now run a bead of hot glue down the spine of the cover. Place the glued side of the text block into the spine, making sure to line it up with the top and bottom of the cover.
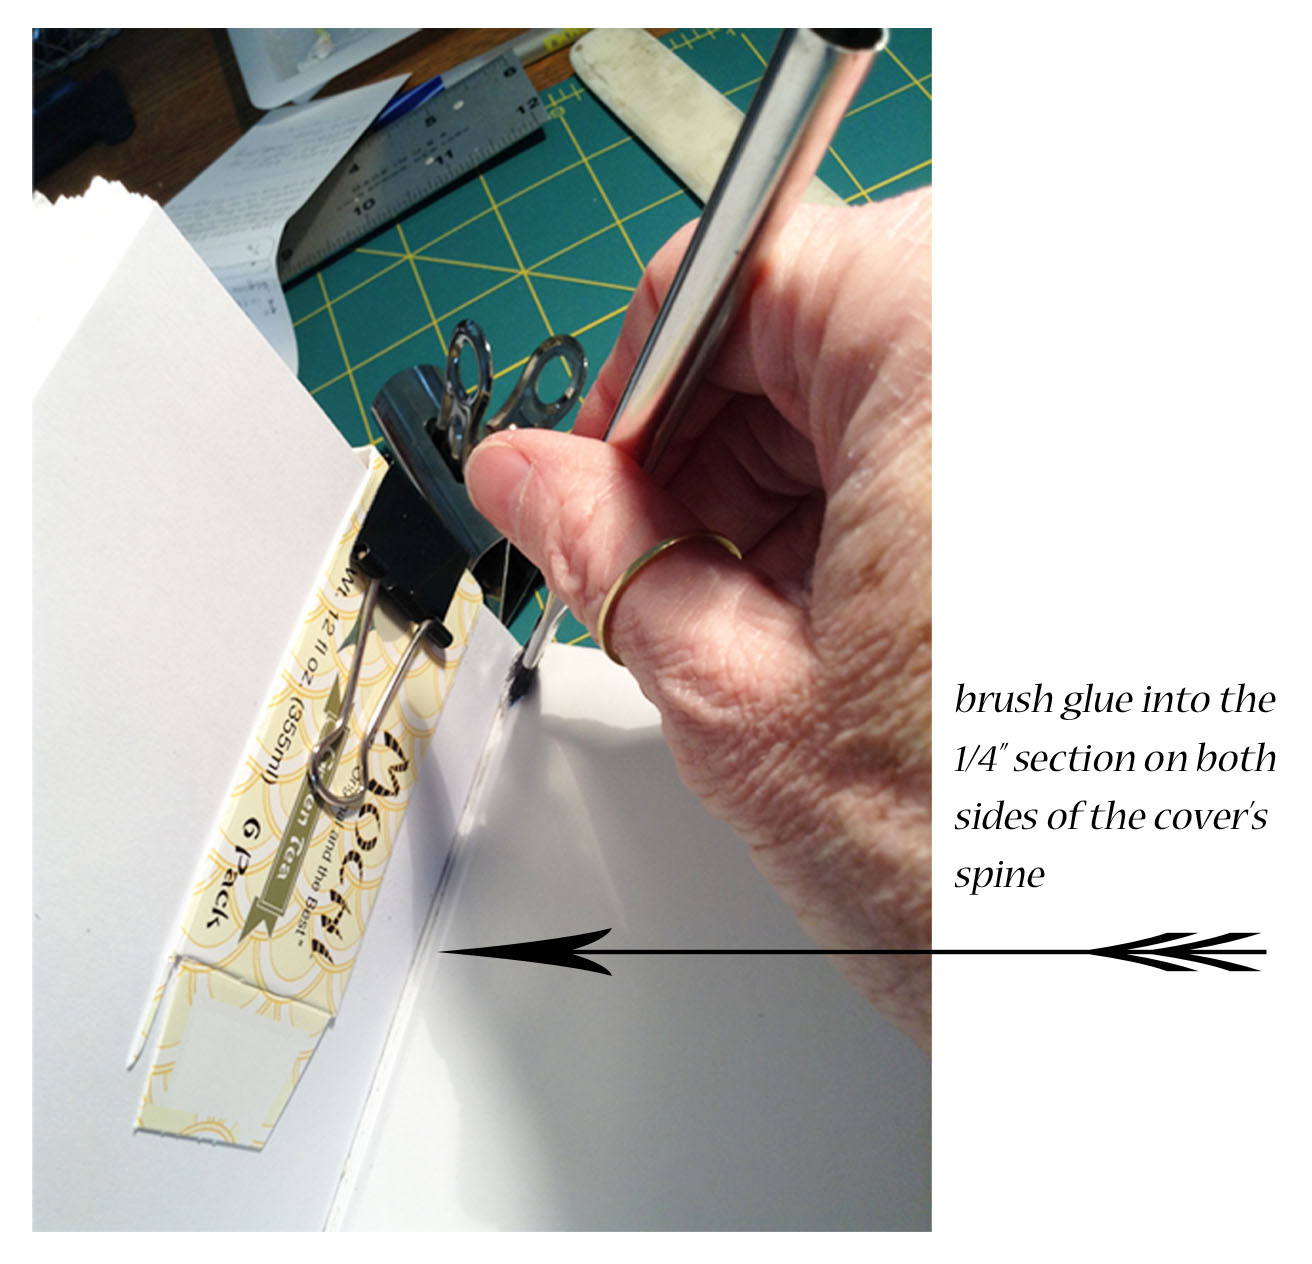
 Press and hold the text block to help the glue adhere. Once the hot glue is set, take some PVA glue and brush a coat on the 1/4″ section that was creased along the spine on the front of the cover. In the photo below I clamped the pages together to keep them out of the way.
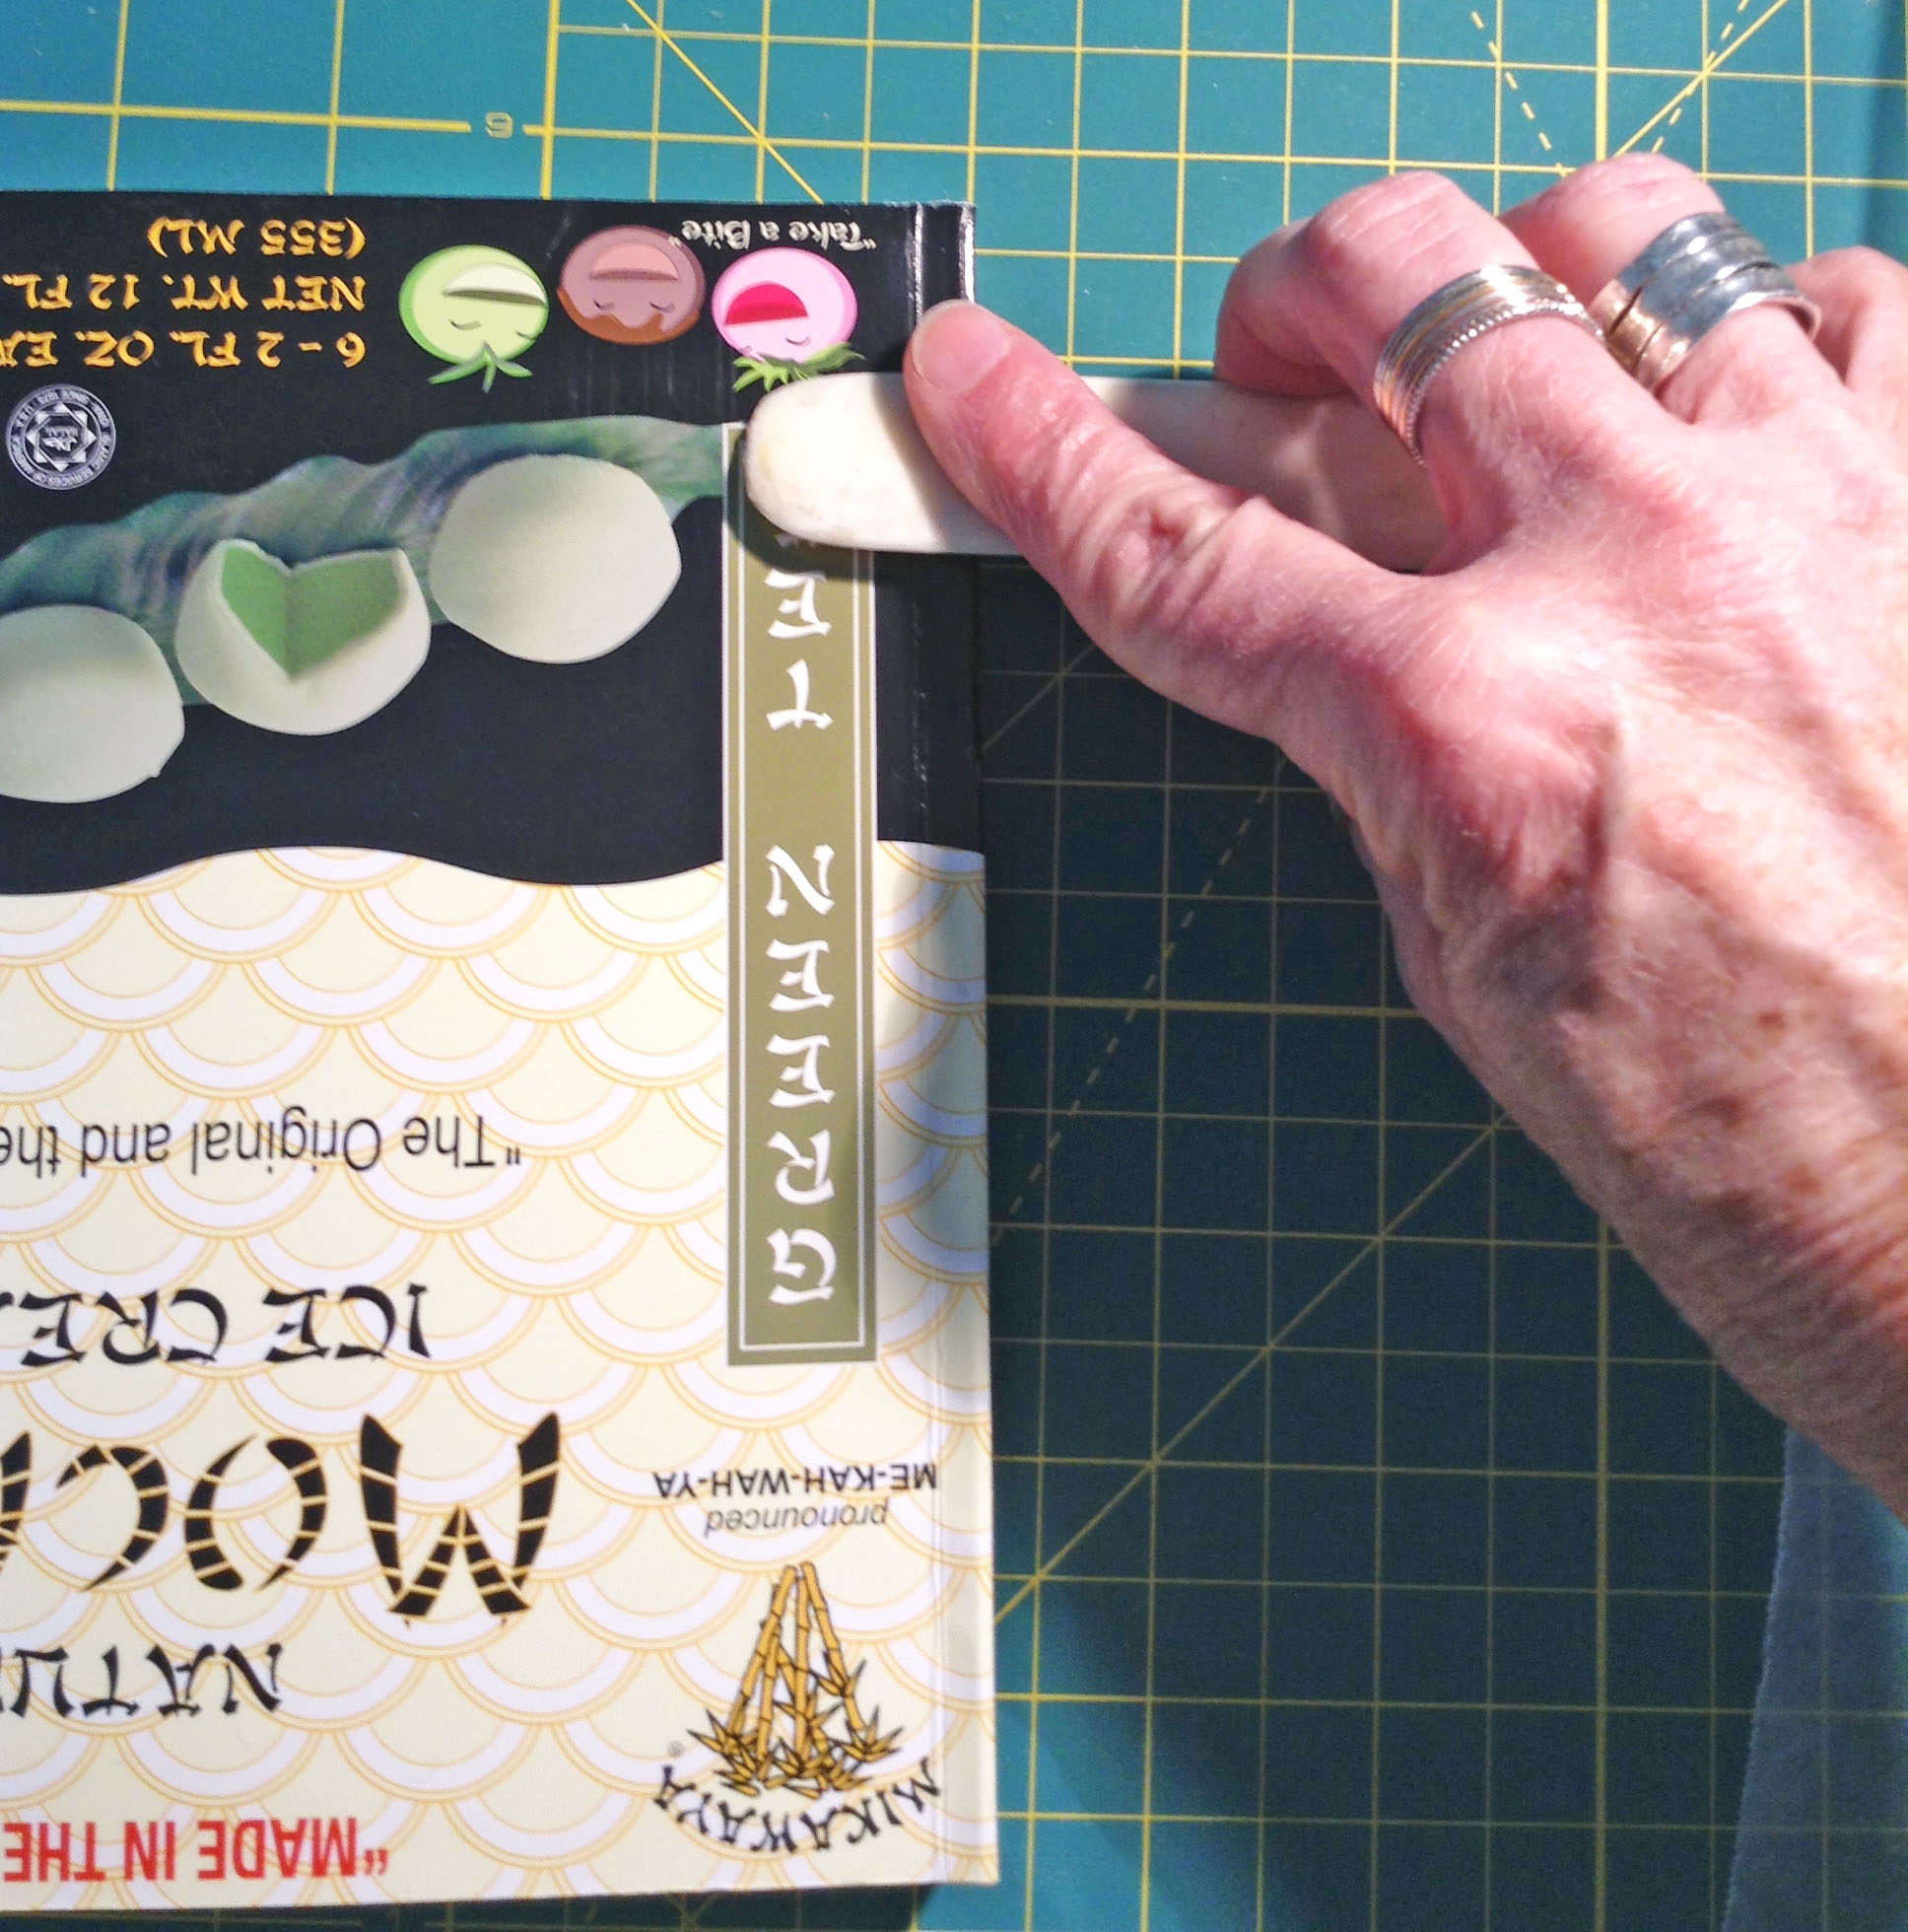
  Press the end sheet down to the cover with the bone folder. Repeat on the back cover. Place the book under the weights once more to let the glue set up. That’s it! Admire your new book.